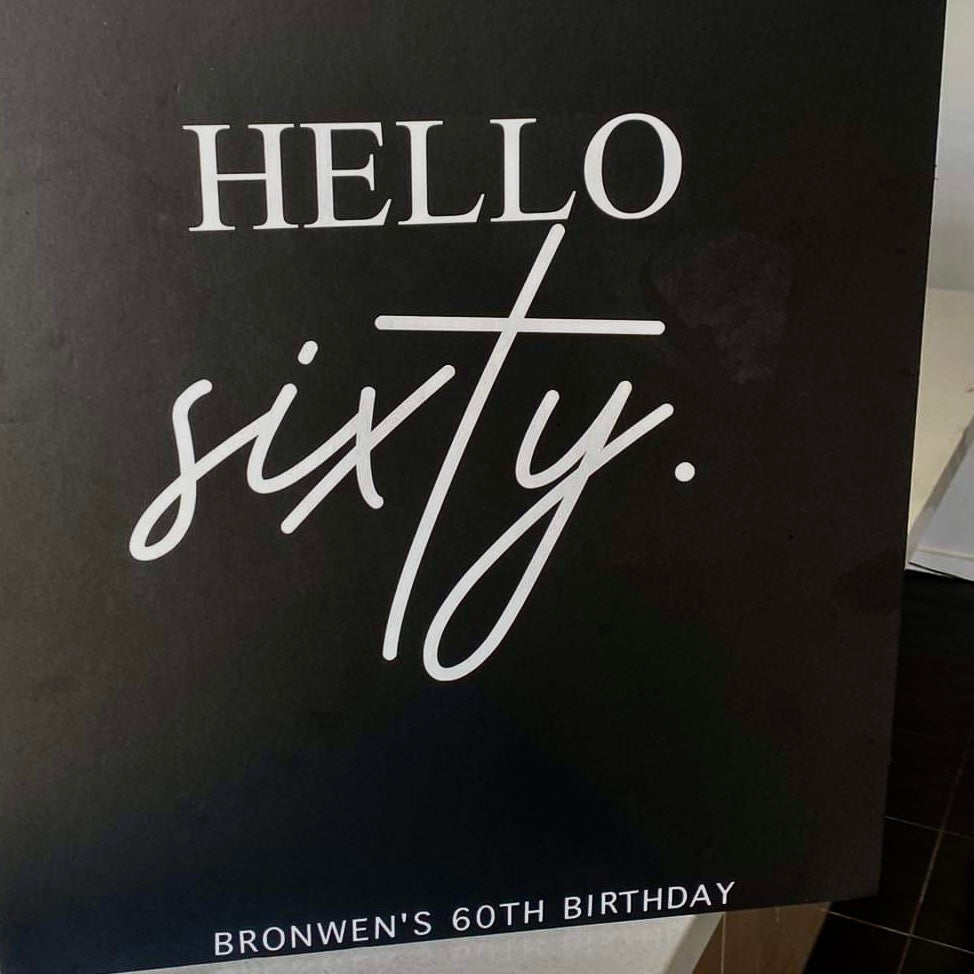
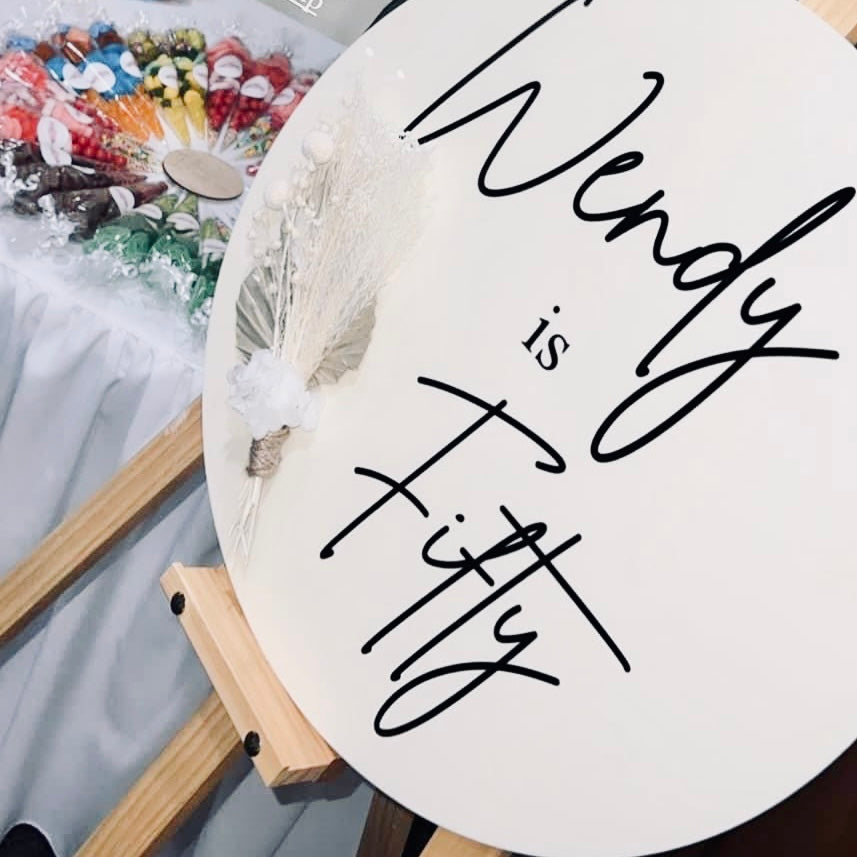
Birthday Sign Label Only
Birthday Sign Label Only
Impossible de charger la disponibilité du service de retrait
THE DETAILS
Birthday Sign Label made from Premium Vinyl.
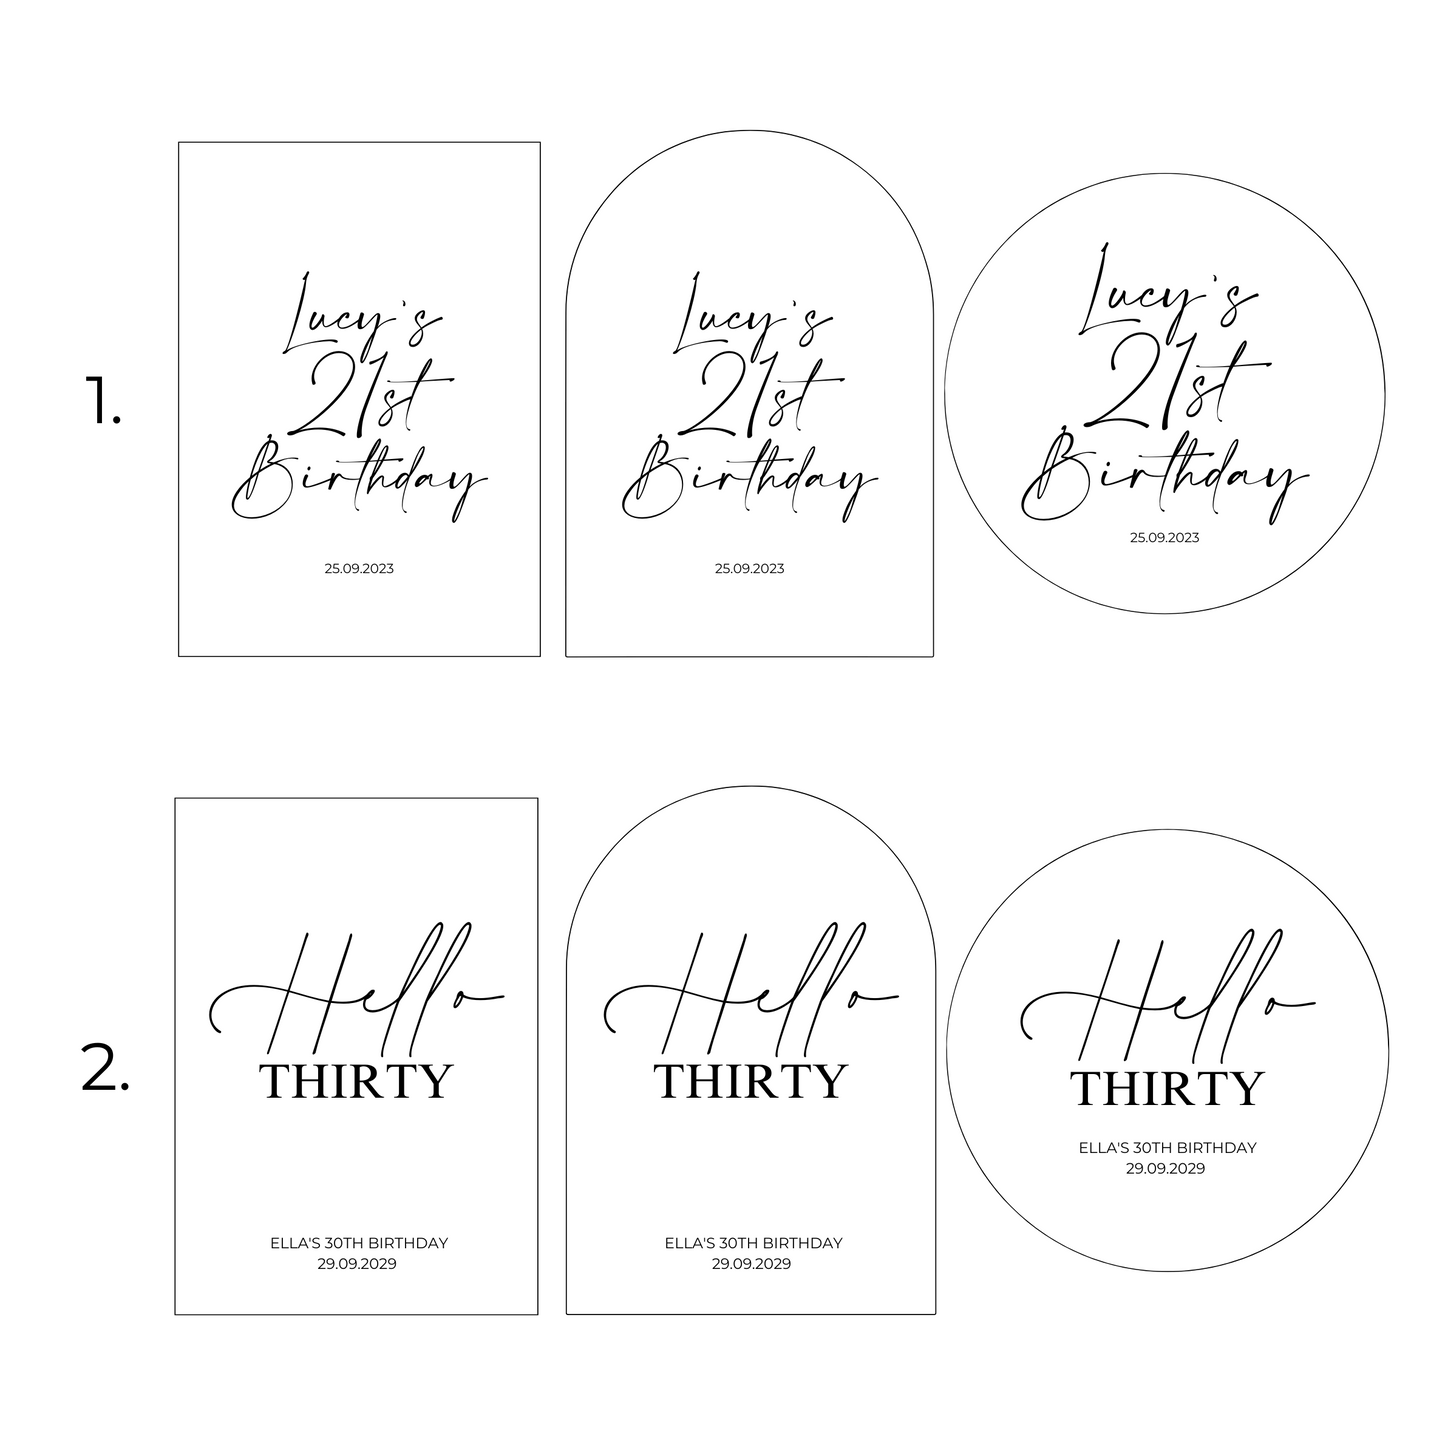
2 available designs.
Other Sizes, Fonts & Colours available on request.
Acrylic Sign Not Included, Label Only.
Label may arrive in multiple pieces for ease of application and packaging.
If you have a particular design or font that you would like, please contact us at hello@labelitlabelsau.com to organise design and quote.
THE ORDER / DESIGN PROCESS
Please choose from the available designs.
Please advise your colour preference for text when ordering.
Your initial design proof will be emailed to you to approve before printing (nothing is printed until you're satisfied with the proofs and we have your final approval!).
Additional proofs may incur an extra fee.
Your label may arrive in separate parts to ensure ease when applying, instructions will be included.
TIMING
Please allow 3-4 weeks for design and print of labels.
The below font previews are not relevant to this product.
FONT PREVIEW
FONT PREVIEW
Preview Font
IMPORTANT INFORMATION
IMPORTANT INFORMATION
Please note the following before purchasing -
- Colours depicted online may vary slightly from the actual colours.
- Bamboo, as a natural material, is susceptible to deterioration caused by fluctuations in moisture and temperature levels. To maintain the longevity of products featuring bamboo lids, it is recommended to avoid prolonged exposure to water and to regulate environmental conditions. Bamboo is not dishwasher safe.
- Shipping expenses may differ based on the volume of your order and the destination of delivery. International orders may be subject to custom fees. Please refer to our shipping policy for more information on shipping.
- For information regarding refunds, returns & exchanges, please refer to our refund policy.
INFORMATION REGARDING CUSTOM LABELS
INFORMATION REGARDING CUSTOM LABELS
Before ordering please read the following -
- Please indicate your desired labels in the designated 'Label Required' field. Your labels will be printed EXACTLY as you write them, including capitals. Please ensure you double check the spelling of your labels. Avoid writing in all capital letters, unless this is your preferred printing format. Write 'NIL' if no labels are required.
- Please note that fonts 4, 10, 13, 16, 18, and 25 are only available in all capital letters.
- The size of the labels may vary based on the length of the longest word, with the longest label determining the maximum size and all others being scaled accordingly.
- In the absence of a specified colour/font preference for your labels, we will reach out to you via email for clarification, which may cause a delay in processing of your order.
- Our labels are water-resistant however, continuous exposure to harsher elements such as hot water may reduce their longevity.
- It is important to note that the colours of the fonts depicted may vary slightly from the actual label colours.
- For customers who have chosen to apply their own labels, kindly refer to the instruction flyer included in your order for proper application techniques. We advise applying the labels within one week of receipt for optimal results, as application may become more challenging with time.
Please note that the labels are water-resistant 24 hours after application but are not suitable for use in dishwashers.
Label it Labels assumes no responsibility for any errors or damages that may occur during the self-application process
HOW TO APPLY LABELS
HOW TO APPLY LABELS
STEP ONE: Clean the area that you are applying the label to thoroughly with warm, soapy water or an alcohol wipe. It is best not to use any other products as this may affect the adhesive.
If applying labels to a wooden surface, ignore this step.
STEP TWO: Prepare the label by firmly rubbing over the label for a minimum of 20 seconds with a credit card or similar. This will help the vinyl to adhere to the transfer tape and eliminate any air bubbles.
STEP THREE: Slowly and carefully peel the white paper backing from the transfer tape. If any of the letters cling to the backing paper, replace the backing and repeat step two until it is all transferred to the transfer tape.
Please note: This step can be time consuming AND frustrating, however, it is important to follow and the results are always worth it.
STEP FOUR: Once you have peeled the paper backing from the transfer taoe, place the label onto the surface and rub firmly with your fingers.
For best results, wait 24 hours before continuing onto step 5. However, this is at your discretion.
STEP FIVE: Slowly peel away the transfer tape at a slight angle. Be careful when peeling that the label does not peel off too.
Tips if having difficulty:
- If in step 5 the label is coming away with the transfer tape, replace the tape and firmly rub the surface again as you did in step 4.
- If you're still having trouble, using some fine point tweezers or your fingernail to grab a letter while peeling off the transfer tape can help just enough to adhere to the surface.
- Patience is key!
- Some surfaces may require more patience than others.


NEED YOUR ORDER SOONER?
Rush My Order


